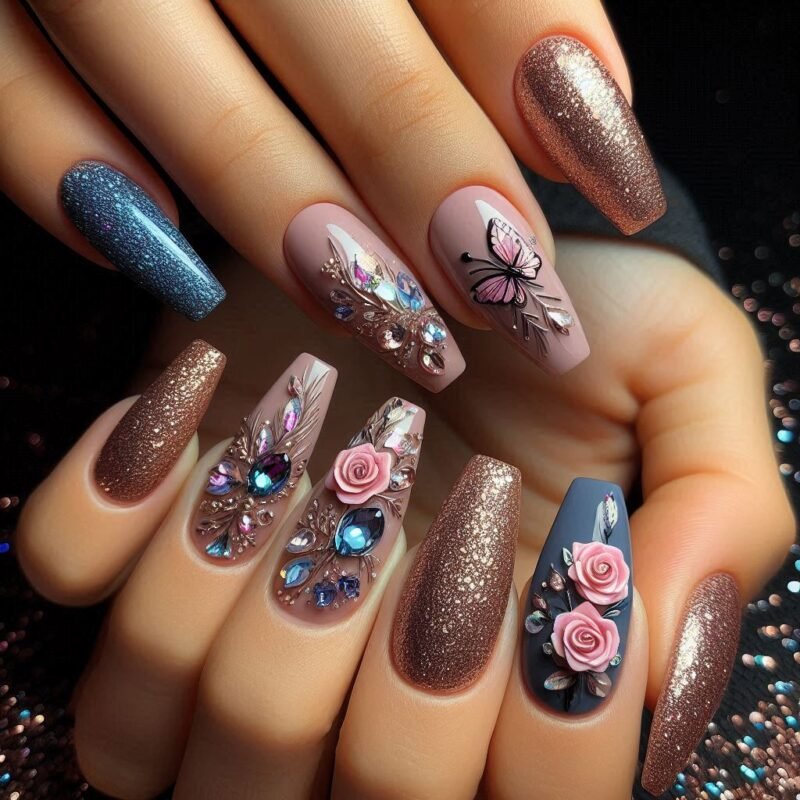
Valentine’s Day Nail Art: Creative Designs for Love

Valentine’s Day is a time to celebrate love and affection, and what better way to express your creativity and romantic spirit than through stunning nail art! Whether you’re gearing up for a special date, a fun night with friends, or simply want to spread some love, these nail art designs will make your nails look fabulous. Let’s dive into some easy-to-follow tutorials and tips to create the perfect Valentine’s Day nails.

Step 1: Gather Your Supplies
Before you start, make sure you have all the necessary tools and supplies:
- Base coat
- Nail polish (red, pink, white, glitter, etc.)
- Nail art brushes or toothpicks
- Dotting tools
- Nail stickers or decals (optional)
- Top coat
- Nail polish remover and cotton pads
Step 2: Prepare Your Nails
Start with a clean slate by removing any old nail polish and shaping your nails. Apply a base coat to protect your nails and ensure a smooth application of your nail polish.
Step 3: Choose Your Design
Here are a few design ideas to get you inspired:
- Classic Red Hearts:
- Paint your nails with a light pink or nude base color.
- Using a nail art brush or toothpick, draw small red hearts on each nail.
- For a chic twist, add a glitter top coat.
- Love Letters:
- Paint your nails white for a clean canvas.
- With a black nail art pen or fine brush, write love-themed words like “Love,” “Kiss,” or “XOXO” on each nail.
- Finish with a matte top coat for a modern look.
- Cupid’s Arrows:
- Start with a soft pink base color.
- Draw small arrows using a silver or gold nail polish.
- You can add tiny hearts at the tip of each arrow for an extra touch of romance.
- Glitter Glam:
- Paint your nails with a solid color like red or pink.
- Apply glitter polish to the tips of your nails, creating a gradient effect.
- Seal with a top coat for extra shine.
- Mix and Match:
- Don’t be afraid to mix different designs on each nail for a fun and eclectic look.
- You could have hearts on some nails, glitter on others, and love letters on the rest.
Step 4: Nail Art Hacks
- Use scotch tape to create clean lines and shapes.
- Toothpicks and bobby pins make great dotting tools.
- If you make a mistake, don’t worry! Use a small brush dipped in nail polish remover to fix any errors.
Step 5: Finish with a Top Coat
Once your designs are dry, apply a top coat to protect your artwork and add a glossy finish.
With these easy-to-follow steps, you’ll have gorgeous Valentine’s Day nails that are sure to impress. Remember, the key to great nail art is practice and creativity. So, grab your nail polish and get started!